Starting from 2015, I have always been a big fan of WordPress — nothing can beat it in terms of SEO and the ease of publishing. But when it comes to speed and security, static sites are unbeatable.
And out of curiosity or say as an experiment, a while ago, I decided to migrate my personal website from WordPress to Gatsby (hosted in Netlify).
I researched and created a plan for the migration so that I don’t lose my rankings, and guess what… I didn’t. Yes, after a week the search engine rankings fluctuated a bit, but overall I didn’t notice any big changes in the traffic.
Let me explained how I did it…
Steps to move from a WordPress blog to a Static blog
I will be dividing the whole process into 2 easy steps.
We’d take the help of 301 redirects to redirect the users who hit the old URLs will be automatically redirected to the new URLs.
Also, you can follow this complete tutorial to convert WordPress blog posts to markdown.
Step 1 — List URLs of old blog posts
First of all, it’s time to make a list of all the blog posts that are published. No, not manually; we will use the Scraper Chrome extension for that.
After installing the Chrome extension:
- Open the blog page where all (or maybe first 10) blog posts are shown
- Right click on the first post and select the Scrape similar… option
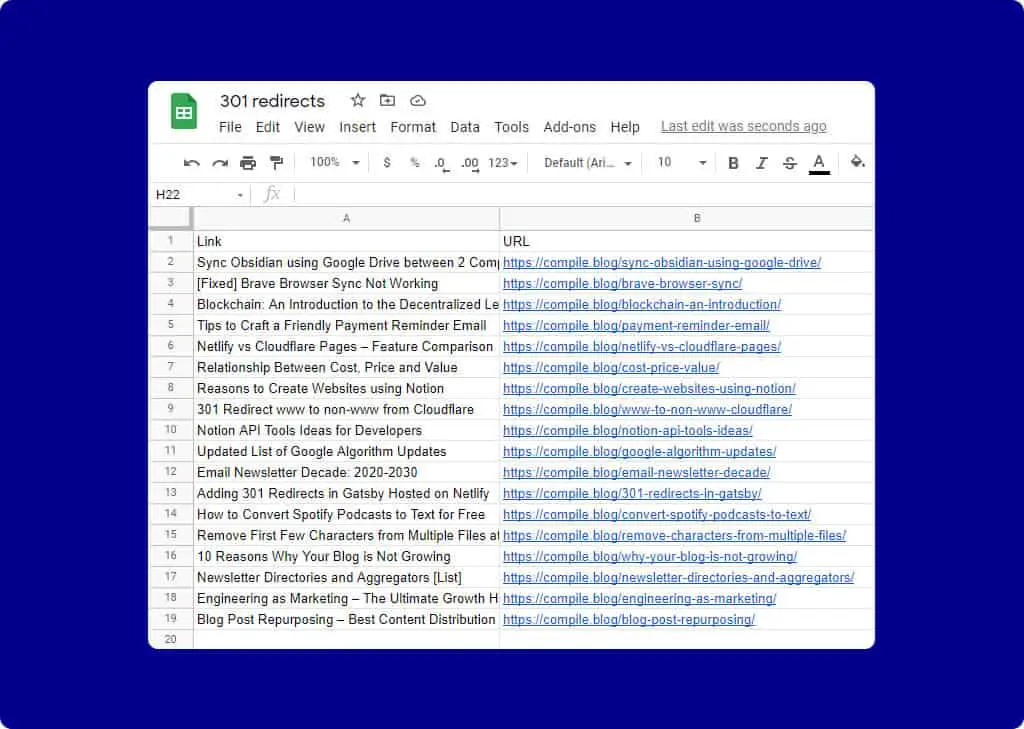
- Copy the scraped results and paste it in a spreadsheet like MS Excel or Google Sheets (see below screenshot)
- Now, go to the next page and repeat the #2 and #3 process and so on…
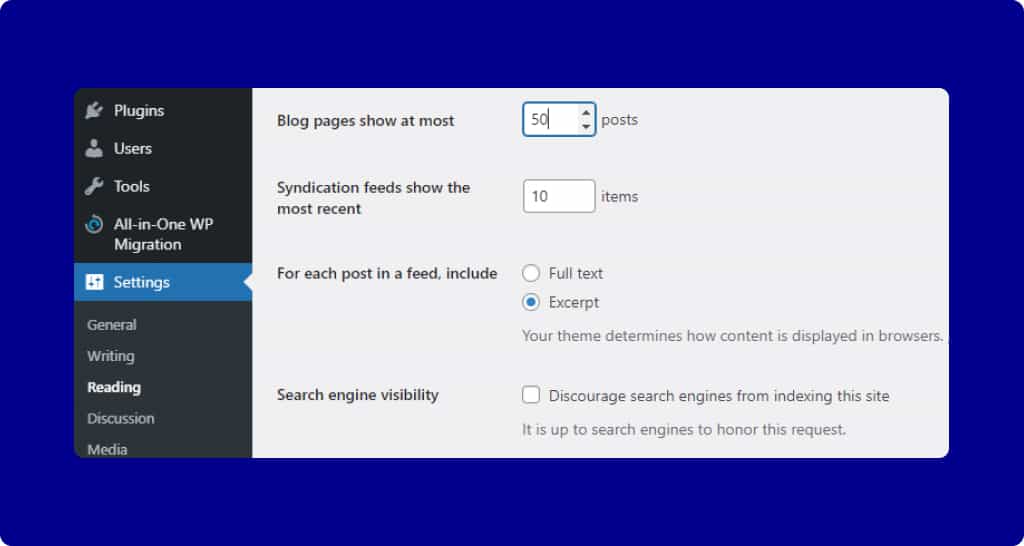
If you have 100s of posts then it’s going to take a long time, but here’s a trick: Go to your WordPress dashboard and navigate to Settings > Reading and increase the number of blog posts that will be shown on the blog page (see the below screenshot).
Now, let’s move to the next step…
Step 2 — Add 301 redirects
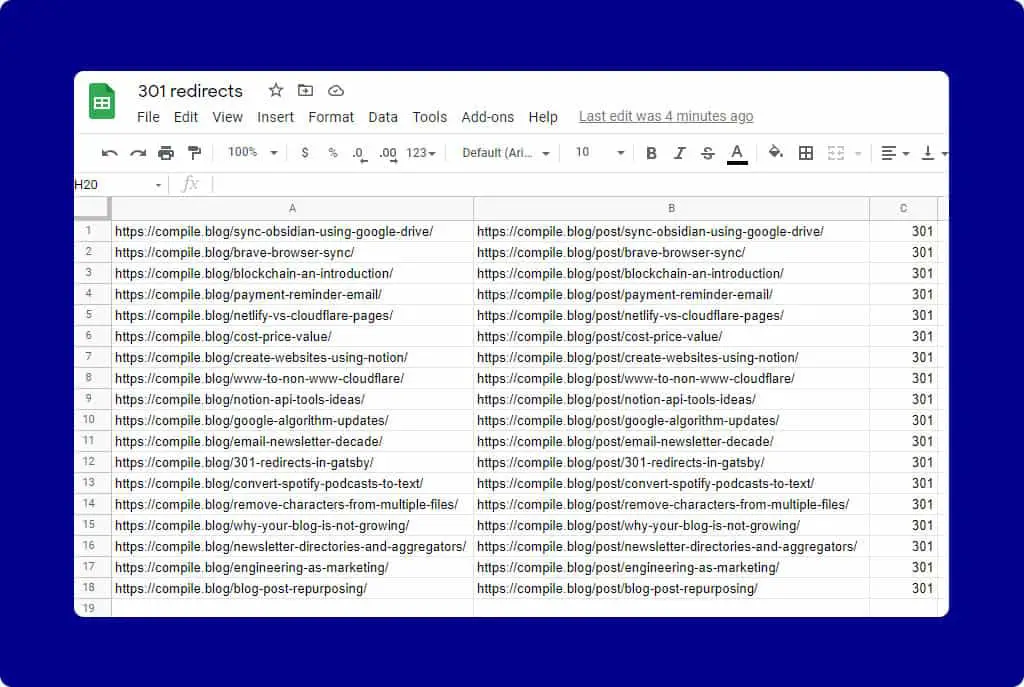
In this step, you will have to prepare a spreadsheet:
- put the old URLs that copied from the step #1 in the first column
- put the new URLs in the second column, and
- put 301 in the third column (see below screenshot)
Now, copy all the 3 columns and paste them into the Netlify Playground to test if all redirects are valid or not. If you see the “Yay! All redirects are valid” confirmation, there’re no errors.
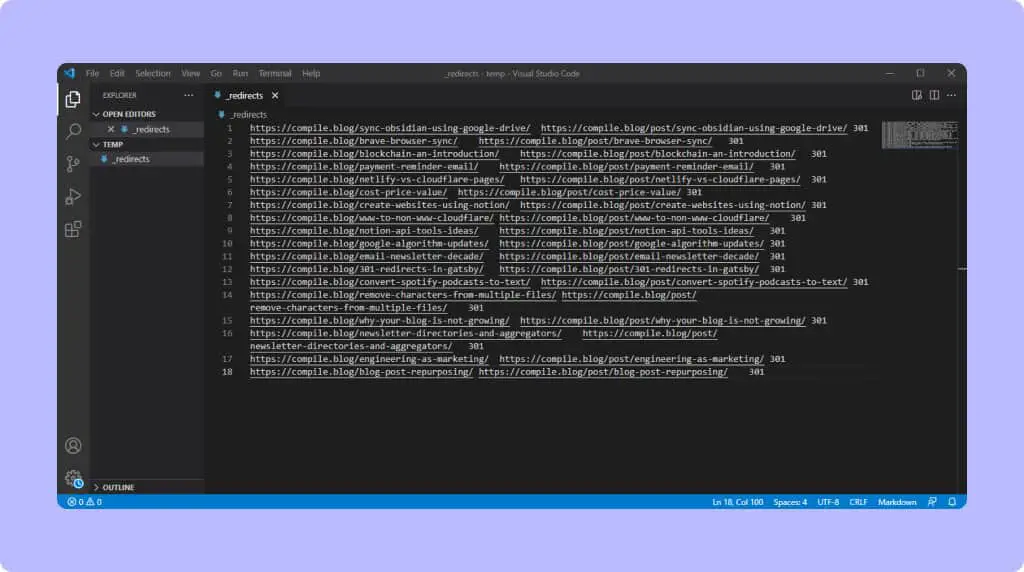
After that, create a new plaintext file called _redirects (yes, it starts with an underscore and has no file extension) and copy the content of all the 3 columns from the spreadsheet, paste, and save the file. See the Netlify official documentation for more information on it.
📢 Now, you need to put the _redirects file to the publish directory of your site. In my case, I have put it in the “static” folder of my site but it might be a different one in your case.
If you get stuck somewhere, here’s a detailed explanation of adding 301 redirects in Netlify.
That’s it.
Now, if users visit old URLs, they will automatically be redirected to the new URLs. Your new static blog will retain all the rankings and link juice but search engines take a few weeks time to index the new URLs.
If you have any related queries, feel free to let us know in the comments below.
Leave a Reply