What if you could add your Jekyll blog to Google Search Console and monitor the search traffic?
Yes, this is very possible.
Currently, there are 5 ways to verify your blog/website with Google Search Console:
- Uploading a HTML file
- Adding an HTML tag to the site’s homepage
- Through Google Analytics verification
- Using Google Tag Manager
- Adding a DNS record to the Domain name provider
If you have already connected your Jekyll blog to the Google Analytics, then you don’t need to further verify for Google Search Console. Just add your domain to the Search Console and it will be automatically verified.
Recommended: Adding images and changing permalink structure of Jekyll blog
But, if you are not using Google Analytics, then the 1st method (HTML File) is the best way to add your blog with Search Console.
Here’s the complete process:
- Navigate to the Search Console page
- Log in with your Google account
- Click on the Add Property from the left-side hamburger menu
- Enter your website in the URL Prefix section, as shown below
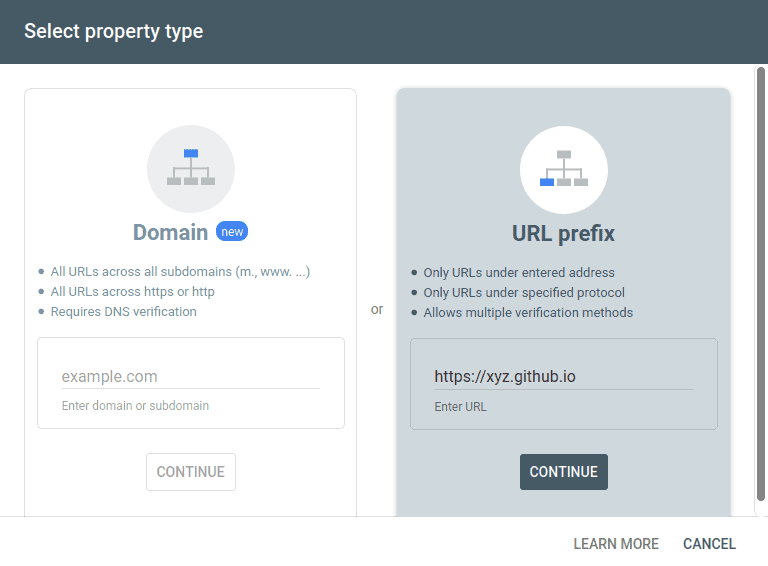
- Click Continue and download the HTML File from the HTML File section, as shown below
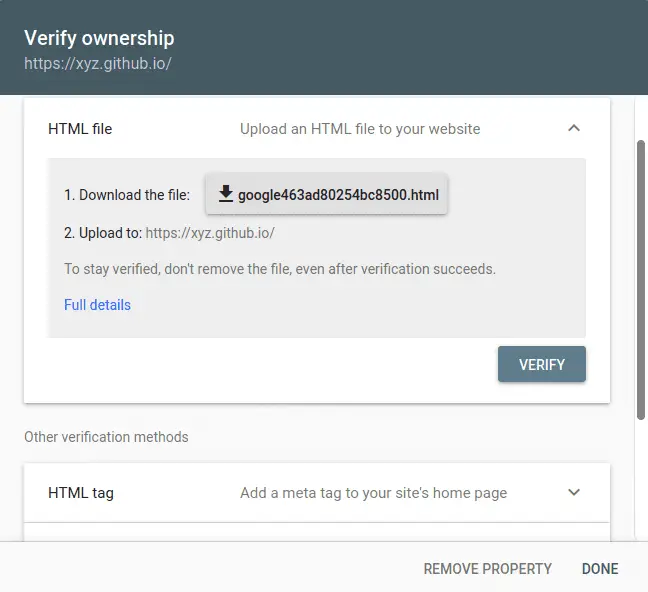
Now, copy the file to the root directory of your Jekyll blog and push the local files to Github/remote.
Wait for a minute and then click on the Verify button. Your website will be instantly verified with the Google Search Console.
That’s it.
Leave a Reply